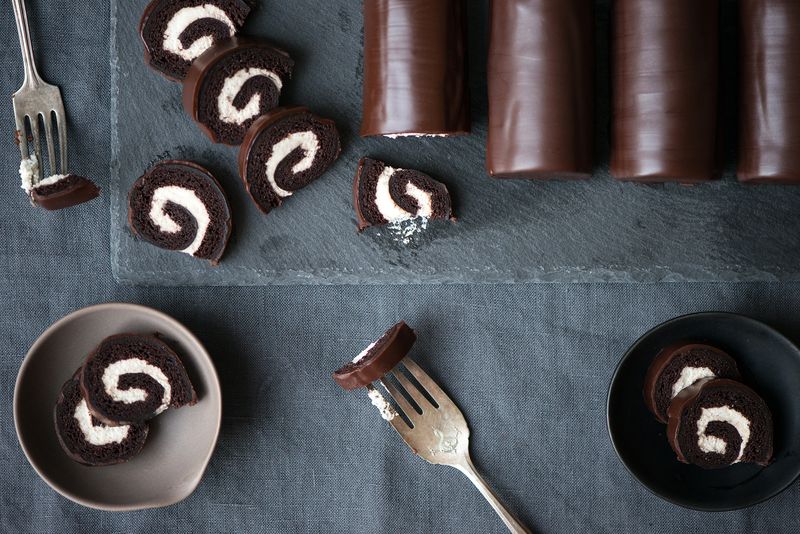
These rolled chocolate cakes are slightly more sophisticated version of the original beloved Swiss Rolls snack cakes.
My version is a fresh chocolate sponge cake, rolled up in a mascarpone vanilla bean whipped cream and covered in a velvety dark chocolate glaze. Enjoy it as one giant cake roll (like a roulade), or divide it up into miniature portions.
Makes eight 3-inch cakes
For the chocolate sponge cake:
2 ounces Dutch-processed cocoa powder
2 ounces hot water
1 1/2 teaspoons vanilla extract
2 tablespoons unsalted butter, soft at room temperature
5 ounces sugar, divided
4 ounces egg yolks
7 ounces egg whites (from about 6 large eggs)
Cocoa powder, for dusting
For the mascarpone vanilla bean whipped cream:
8 ounces heavy cream
4 ounces mascarpone cheese
1 ounce sugar
1 teaspoon vanilla extract
1 vanilla bean, split lengthwise and seeds scraped
For the chocolate glaze:
8 ounces dark chocolate, 60 to 70%
6 ounces unsalted butter
1 teaspoon honey
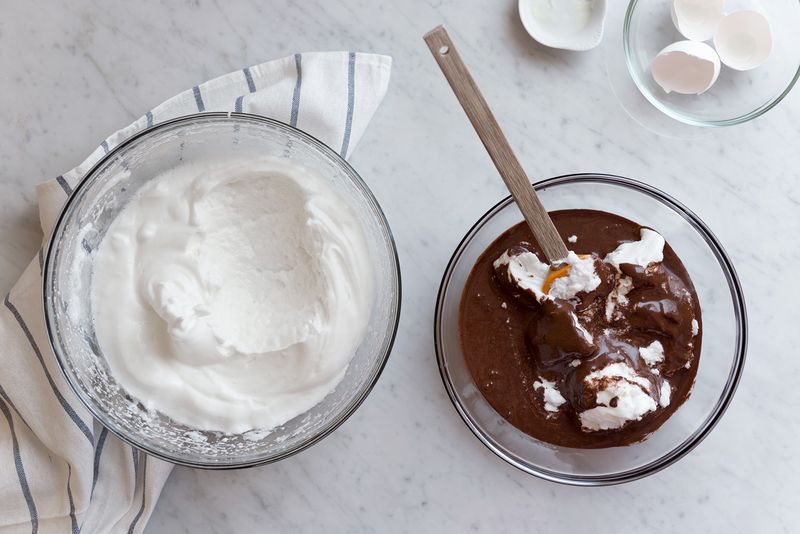
Start with the cake. Preheat the oven to 350° F and prepare a 17- by 11-inch baking sheet by lightly oiling the bottom and sides, lining the bottom with parchment paper, and then lightly oiling again. In a small bowl, combine the cocoa powder, hot water, vanilla extract, and butter.
In the bowl of a stand mixer, add 4 ounces of the sugar and the egg yolks. Whip on medium-high until light pale yellow in color and fluffy (about 5 minutes). Add the chocolate mixture and whip until combined. Scrape down the bowl and mix in any stray bits.
In a clean large bowl, whip egg whites until soft peaks form. Gradually, add in 1 tablespoon remaining sugar while continuing to whip until stiff peaks form. Using a spatula, fold 1/3 of egg whites into egg yolk-chocolate mixture to lighten it. Fold in another third and finally, the remaining third.
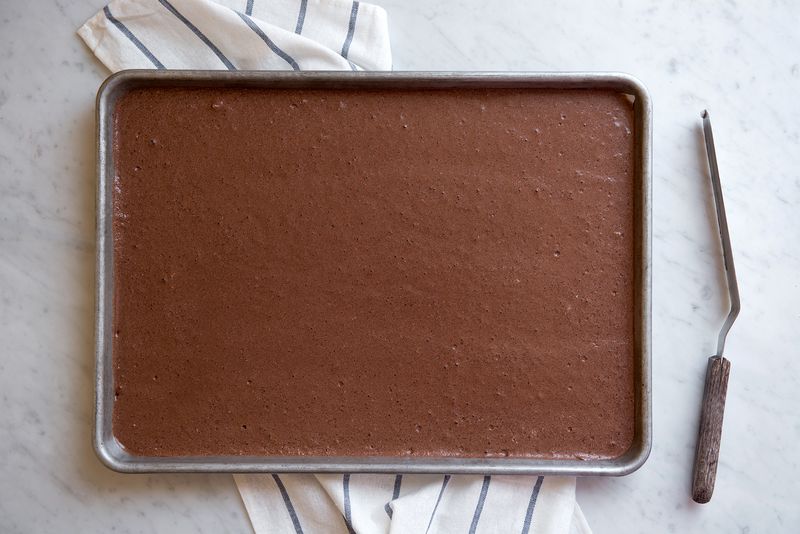
Pour batter into the prepared baking sheet and evenly smooth out with an offset spatula. Bake for 17 to 18 minutes, until the edges of the cake pull away slightly from the sides of the baking sheet.
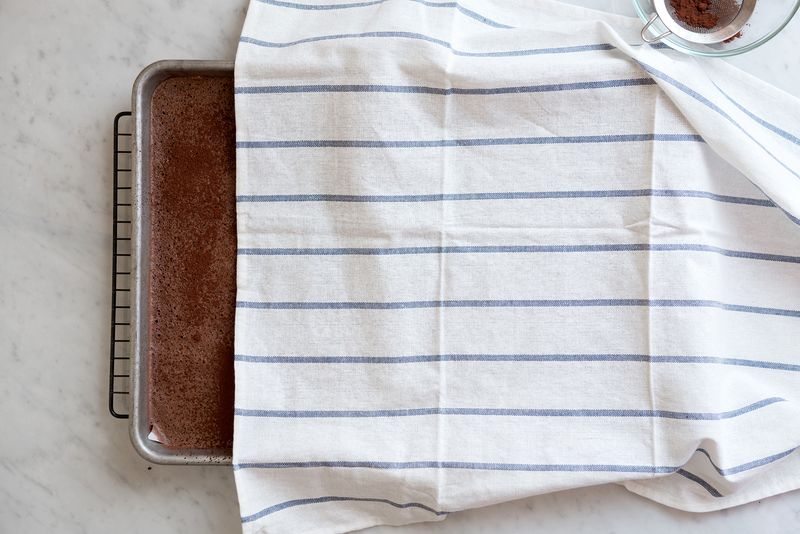
Set on a cooling rack and lightly dust entire surface with cocoa powder. Place a damp kitchen towel over the cake and let cool.
Make the mascarpone vanilla bean whipped cream. In the bowl of a stand mixer, or with a hand-held mixer, whip all the ingredients together just until stiff peaks form and the filling holds its shape when spread.
For the glaze, combine dark chocolate, butter, and honey in a bowl and melt over a double-boiler. Remove from heat and let cool slightly. (You can also place all ingredients in a microwave-safe bowl and heat for 1 minute. Stir mixture, then heat for 15-second intervals, mixing at each interval, until melted. Do not overheat or it will burn the chocolate.)
The glaze should be warm and fluid for glazing (it shouldn’t be too hot or it will run off the cakes and melt the filling).
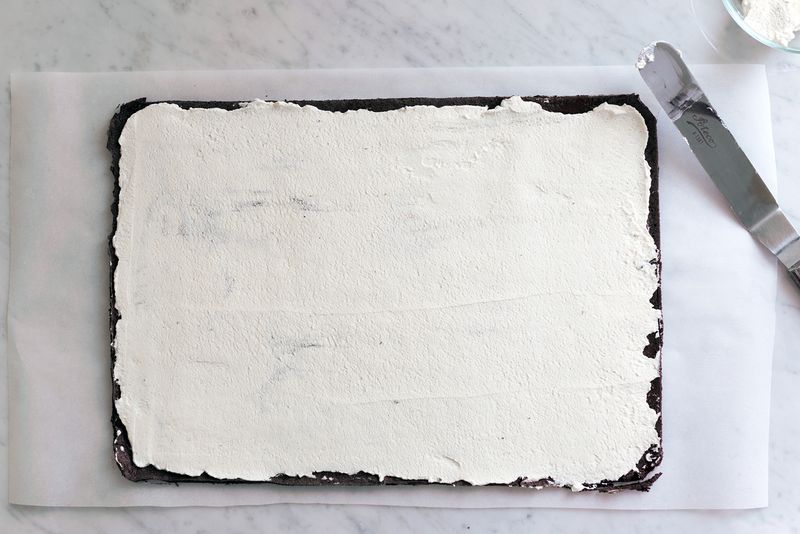
To assemble the rolls, carefully remove the cake from the pan and transfer to a flat work surface. With an offset spatula, evenly spread the whipped cream filling over the entire surface. Use a knife to trim off the edges of the cake and cut the cake into four sections. Cut through the parchment paper to keep it attached to each cake section.
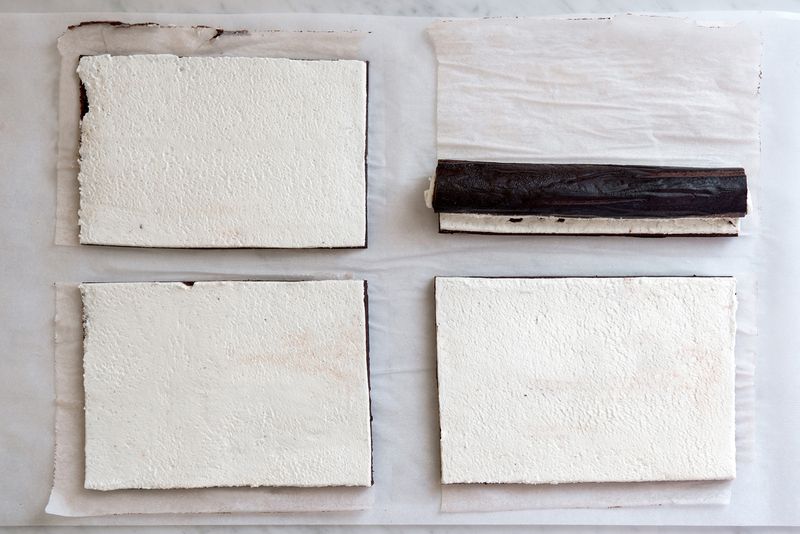
Roll each section up one at a time, beginning with the longer side of each section. Carefully curl the edges up and use the parchment paper for support. Gently peel away the parchment as you roll it up. Once complete, place the rolls in the refrigerator for 20 to 30 minutes to firm up the filling.
Neatly trim off the ends of each cake roll section and cut each section into 3-inch portions (cutting each section in half should give you around 3 inches). On a flat work surface, place a wire cooling rack over a sheet of parchment paper or foil and evenly space the cakes on the rack for glazing.
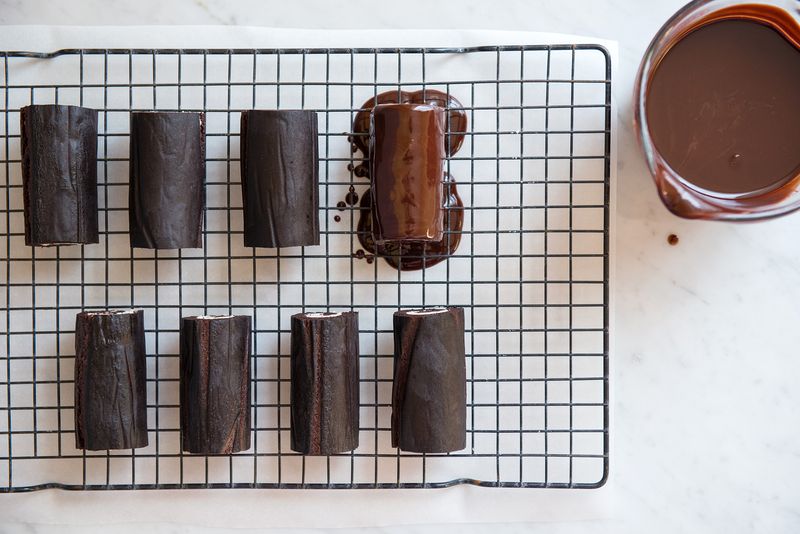
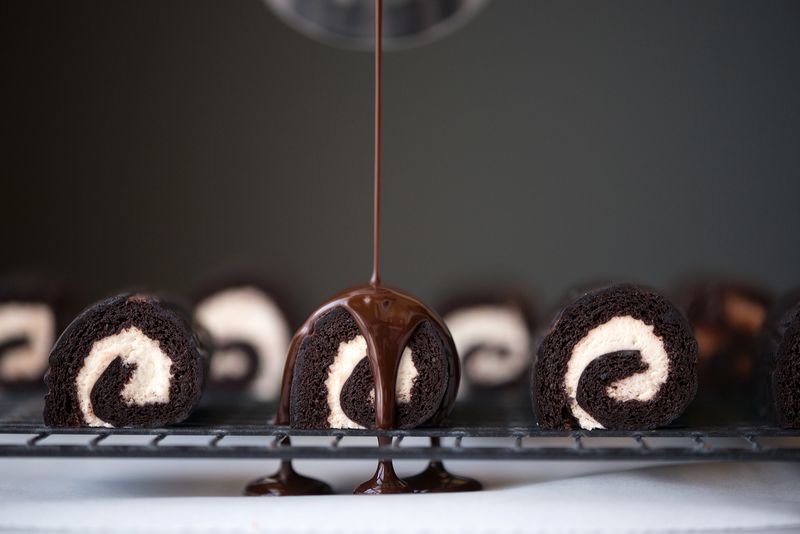
Pour the fluid glaze over each snack cake until it’s completely enrobed in chocolate. With an offset spatula or a fork, carefully transfer each glazed snack cake onto a plate for serving.
If not serving right away, place them all onto a small baking sheet, cover lightly with plastic wrap, and store in the refrigerator until ready to serve (up to 2 days). Let them come to room temperature before eating for the softest and best experience.
See the full recipe (and save and print it) here.
Photos by Teresa Floyd
(via Food52)

