Risotto and I used to despise each other. Because, no matter what recipe I followed, or how dutifully I added ladles of broth, the risotto was neither the right kind of creamy (it fell firmly into the “mush” camp), nor al dente enough. So, when I lived in Italy, I had two goals: go to pastry school (important) and learn how to make a proper risotto (more important?).
My first lesson in risotto in my Italian host family’s kitchen ended the same as the other attempts. But, instead of dutifully eating the failed product of my creation, my host mother/teacher, Olivia, said, “Let’s make arancini with this instead.”

Photo by Julia Gartland
Arancini are, essentially, stuffed, deep-fried rice balls. They’re a common street food in Southern Italy, with as many variations as there are regions in the country (that is, a lot)—and a great way to use leftover risotto, or an excuse to make a new batch.
Now, even after knowing how to make a risotto Olivia deemed “buono,” I make arancini more often than I do just risotto. It’s because they’re fried. And because I’ve never seen an appetizer go faster. To make arancini without a recipe, follow just 6 easy steps:
1. Make risotto (or use any leftover risotto).
If you’re the kind of person who has leftover risotto hanging around, use that (or make a double batch next time you’re having risotto for dinner). No risotto? First thing’s first: Make some.
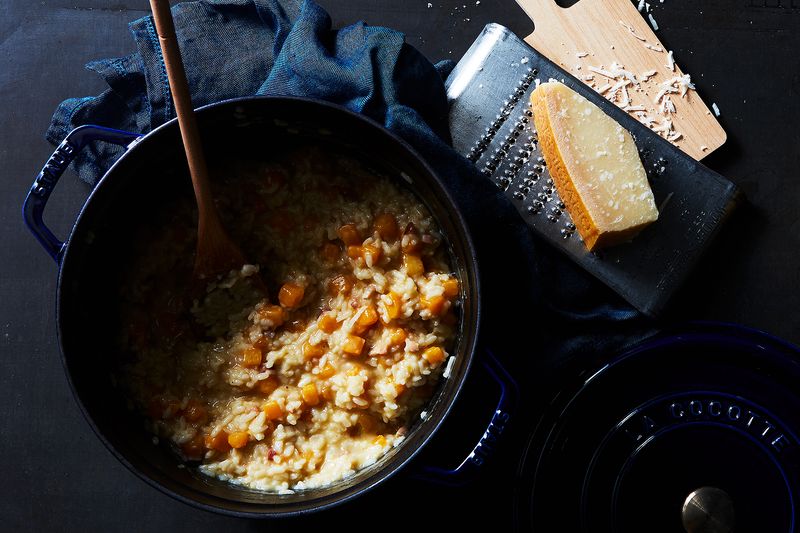
Photo by Julia Gartland
Use your favorite risotto recipe (we’ve got lots of options here), or follow this guide to make your risotto without a recipe, too. Today, we opted for a butternut squash and pancetta risotto.
Butternut Squash and Pancetta Risotto (and Arancini)
By iuzzini
Once your risotto’s cooked and you’ve (most likely) added your final bit of cubed butter and grated Parmigiano, use a spatula to spread the risotto out on a parchment-lined baking sheet and let cool completely.
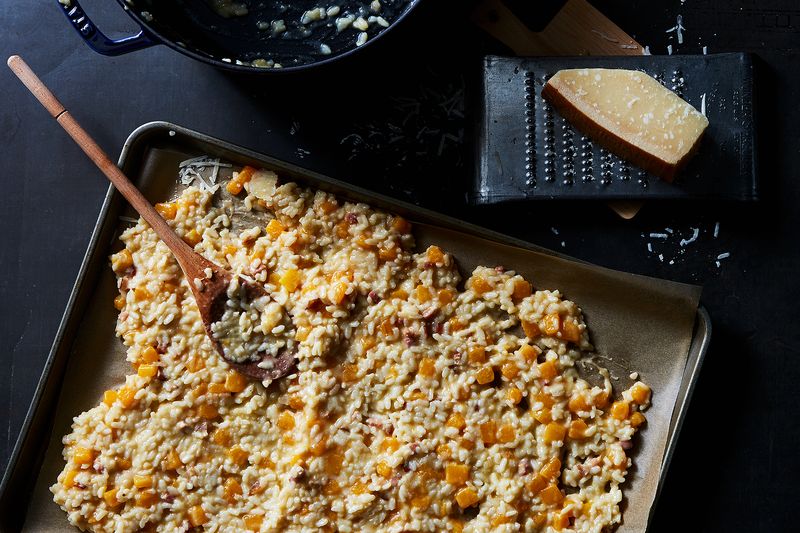
Photo by Julia Gartland
2. While the risotto cools, make your filling.
Aracini filling isn’t meant to be too crazy or complex (because having to manually stuff a million things would be annoying). They should also complement the flavor of the risotto. For example, if you use Strawberry Risotto, you might not stuff it with a ragú, but perhaps you’d use cubed or crumbled gorgonzola.
Which brings us to the main filling rule: Make sure you cut, cube, or crumble your filling small so it’s snug inside—not bursting through—the arancini. If you’re questioning the size, the chances are it might be too big. Fortunately, the solution is simple: use less, cut it smaller, and, in general, employ good judgment about what will and will not fit. For cheese, use nothing larger than 1/2-inch cubes (if using two cheeses, cut the cubes half this size). For something like pancetta, go no larger than 1/4-inch cubes. If you’re like, “Jeez, I don’t want to deal with this cubing stuff,” that’s fine! Just grate the cheese, using about 2 teaspoons instead.
by Genius Recipes
by Genius Recipes
Here are some filling ideas:
- Mozzarella + cooked pancetta
- Mozzarella + fontina + chopped parsley
- Mozzarella + sun-dried tomatoes
- Gorgonzola
- Goat cheese + prosciutto
- Fontina + roasted garlic
- Pimento cheese (untraditional, but undoubtedly delicious)
- Scamorza + soppressata
- Mozzarella + pork ragu
- Cheddar + cooked sweet Italian sausage
3. Make and shape the arancini.
For every 2 or so cups of risotto (or for 16 arancini), you’ll want two eggs and 1/4 to 1/2 cup of grated Parmigiano. If you’d like to err on the side of caution re: the balls falling apart, you can also add 1/2 cup of breadcrumbs here (either homemade or the store-bought, Italian-style ones). Add everything to a mixing bowl and combine.
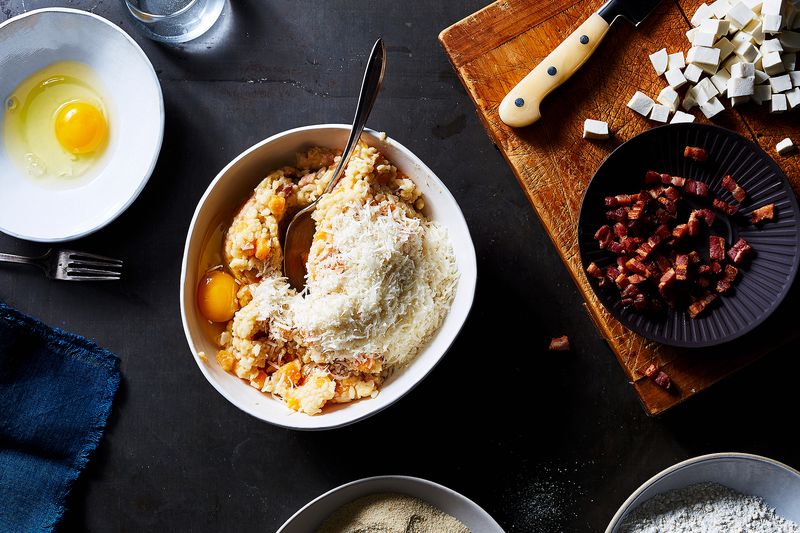
Photo by Julia Gartland
To shape the arancini, take about 2 tablespoons of this mixture and use your hands to form it into a ball. Gently poke a hole into the center of the ball, insert your filling, and close it back up, reshaping the ball as needed to cover the filling. Look at that little surprise inside! Pat yourself on the back for being sneaky. Keep going until all of your arancini are shaped and filled, placing them onto a parchment-lined baking sheet as you go.

Photo by Julia Gartland
At this point, if you’re in a rush, you can precede with readying the soon-to-be arancini for the fryer. But, if not, place them into the fridge (for 20 to 30 minutes) or freezer (for 5 to 10 minutes) to firm up a bit. This will help the balls adhere together! So, yes, it’s optional, but also highly recommended.
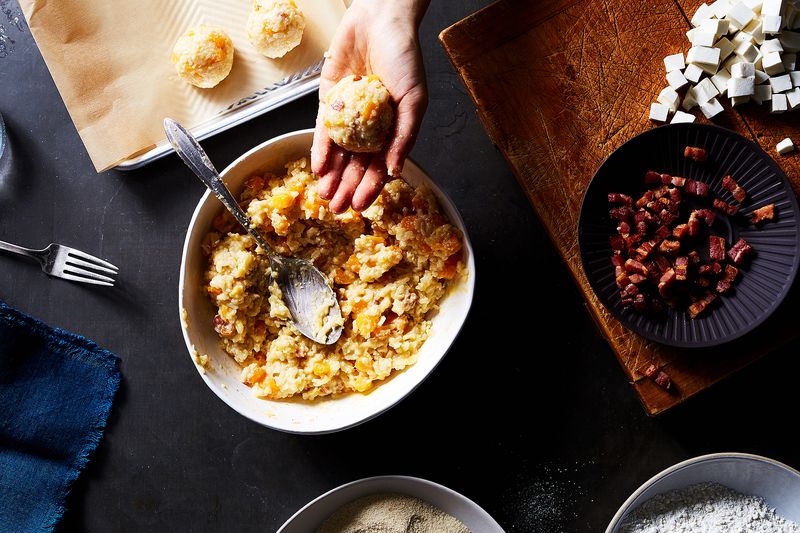
Photo by Julia Gartland
4. The dredge.
There’s two options for dredging: the minimal or the only-slightly-more-complex.
The minimal: Place 1 cup of breadcrumbs (the same kind that went into the risotto mixture) into a medium bowl. Roll each of the arancini in the breadcrumbs to coat.
The only-slightly-more-complex: Place 1/2-cup of all-purpose flour in a bowl and season with salt and pepper. In another bowl, beat 1 egg with a tablespoon or so of water. And in another bowl, place 1 cup of breadcrumbs. Dredge the balls in flour, gently shaking off the excess, roll in the egg mixture, and then coat with the breadcrumbs.
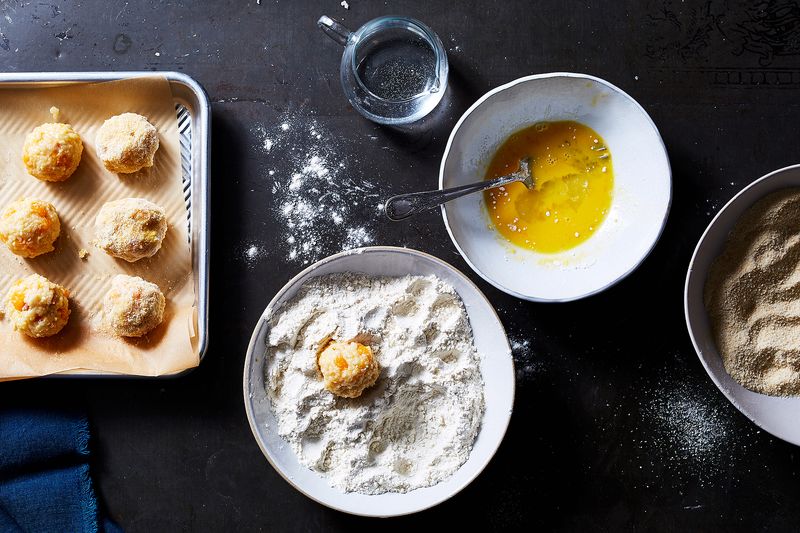
Photo by Julia Gartland
While both options are good, it’s worth noting the latter will yield crispier arancini thanks to the flour-breadcrumbs duo.
5. Fry time!
Heat about 3 inches of vegetable oil in a heavy, large saucepan over medium heat to 350° F. If you don’t have a deep-fry thermometer, test to see if the oil is ready by grabbing a tiny pinch of breadcrumbs and dropping it in. If the breadcrumbs sizzle immediately upon impact, the oil is good to go.
Working in batches, fry the arancini until golden brown and cooked through, turning as necessary, about 4 minutes total. Transfer to paper towels to drain and season with salt.
6. A little this, a little that on top or on the side
Of course, arancini are delicious on their own. However, they can be served with:
- A little grated Parmigiano on top
- A drizzle of balsamic reduction
- Marinara sauce (or, ahem, Tomato, Butter & Onion Sauce).
- Arrabiata sauce
- A drizzle of funky honey, like buckwheat
- Pesto
by Genius Recipes
by gingerroot
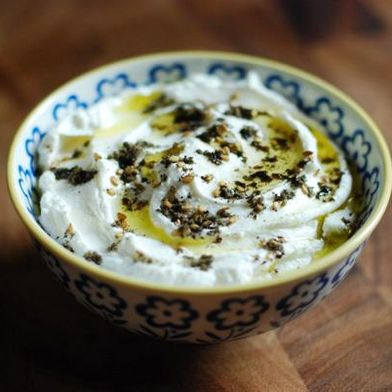
by Rivka
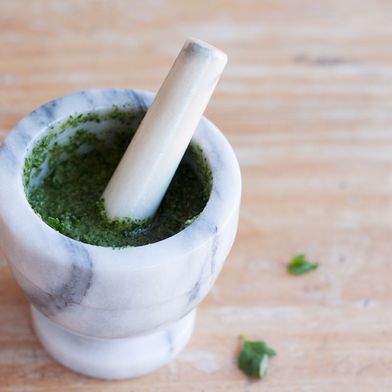
by Emiko
- Fried herbs (basil, sage, parsley)
- Salsa verde
- Fresh ricotta + a drizzle of olive oil
- Labneh
- Harissa, like this roasted carrot version
- Herbed Ricotta and Anchovy Spread
That’s it! Put the arancini on a plate, watch them fly away, and wish you made more.
Do you have a favorite arancini filling? Let us know in the comments!
(via Food52)


