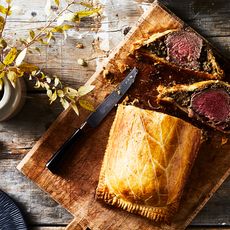
As I prepared to write this article, I’ll admit I wasn’t entirely surprised by the reactions I received when I used the word “Wellington.” It was usually met with sharp breaths, even shock, as well as a bit of appetite-inducing admiration. This is one of those dishes—old fashioned/classic, to be sure—that is still revered for being fancy, even over-the-top. It is definitely a showstopper, but I’m here to assure you that it’s a much more attainable one than its reputation may make it seem, especially when you mix up the filling inside. At its core, this is a savory pie: a double crusted, stuffed puff pastry gem. It’s about more than just beef; you can truly Wellington anything.

Photo by Julia Gartland
Ready to give it a go? Here’s what you need to know.
About Wellington
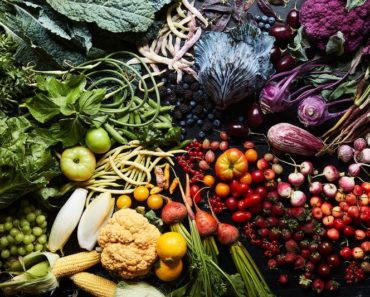
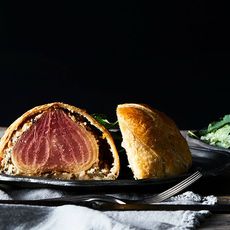
The term “Wellington,” in the kitchen, usually refers to beef Wellington, a dish where meat is coated in pâté and/or duxelles (a mixture of herby, finely chopped mushrooms) and then wrapped in a pastry crust. The pastry can be made in a large size, then sliced for individual servings, or made as individual portions. The exact origin of beef Wellington is somewhat unknown. The dish shares similarities to items in French cuisine (bœuf en croûte), but is often more commonly attributed to English cuisine. The concept is certainly a popular one throughout food history, as Wellington is basically a savory pie served as an entrée. Nowadays, it’s common to use other fillings aside from just beef—really, anything that you can wrap in puff pastry works here, but root vegetables like beets, turnips, and squash work especially well.

Photo by Julia Gartland
Preparing the Filling
What’s stuffed inside a Wellington is the most important part of the dish, and it can be the trickiest to get just right. No matter what kind of filling you’re using, it will need some sort of cooking preparation before being sealed inside the puff pastry. The main enemy of a Wellington is excess moisture in the filling. When the filling releases too much moisture during cooking, it can leave the puff pastry on the interior soggy and unable to puff up.
So what’s the best way to prep the filling?
The main item inside the Wellington is often wrapped with a coating of some sort. In the case of the traditional mushroom mixture (duxelles) used in classic beef Wellington, it’s very important that the mixture be cooked ahead of time to release all the moisture inside the mushrooms. Other vegetables can be used to wrap the main item, or ingredients like goat cheese and finely chopped nuts (that’s what I used in the Beet Wellington recipe, below). Just be sure that the item in question isn’t overly wet, or else it may create problems with the puff pastry.
by Sara Jenkins
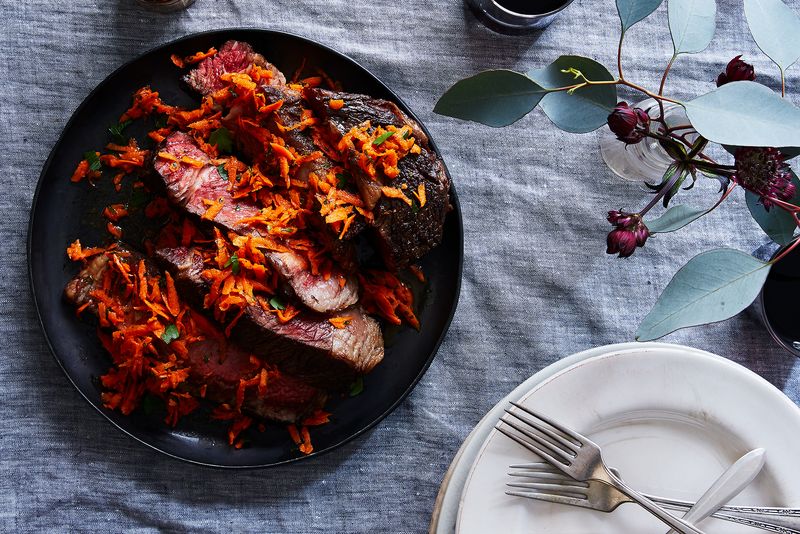
Meat items should be seared before being wrapped in the pastry. Traditional beef Wellington is usually made with beef tenderloin (large, sliceable Wellington) or filet mignon (individual portions). Season the meat as desired, then sear in a neutral oil over medium-high heat until it’s nicely browned on both sides. Remove the meat from the pan and let rest until cool enough to handle, 5-10 minutes. If you’re using a coating (like the aforementioned mushrooms), apply it to the cooled meat before wrapping in the puff pastry. It’s important chill the meat and coating for a bit before wrapping it in the puff pastry. Not only does this make things easier to handle during assembly, but it encourages ideal results for the puff pastry base and topping. Chilling the meat also brings the temperature back down, so the meat won’t overcook (and stay medium-rare) during its bake in the oven.

by Jennifer Clair
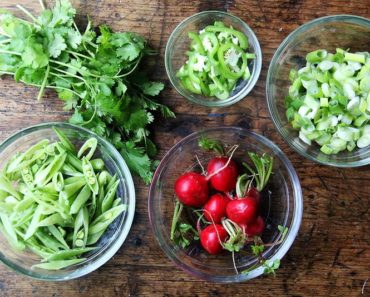
Vegetable fillings need to be handled a bit differently. Firmer vegetables, like beets, squash, and other root vegetables, are ideal for making wellingtons, because they won’t overly break down in the oven, retaining their shape for slicing and serving. Since these vegetables are so firm, it’s best to pre-roast them a bit. This also helps to release a small amount of moisture, which is good for the puff pastry later on. Generally, it’s best to roast the vegetable until just barely fork tender. Then, let the vegetable(s) cool completely before adding a coating (if using), and wrapping in puff pastry. Softer, more tender vegetables can be used as well, but since they won’t retain their shape in the oven, they are often used as a coating or to create a layered effect using multiple vegetables. In these cases, precooking the vegetables is done mostly to release excess moisture.
Shaping the Wellington
You’ll need two pieces of puff pastry (about 14 ounces, 1 pound total) to make a Wellington. You can use homemade or store-bought (if frozen, be sure to thaw it fully in the refrigerator first). You can also use blitz puff pastry, rough puff, or even extra-flaky pie dough—you just want a good, flaky base and top layer for your final Wellington.
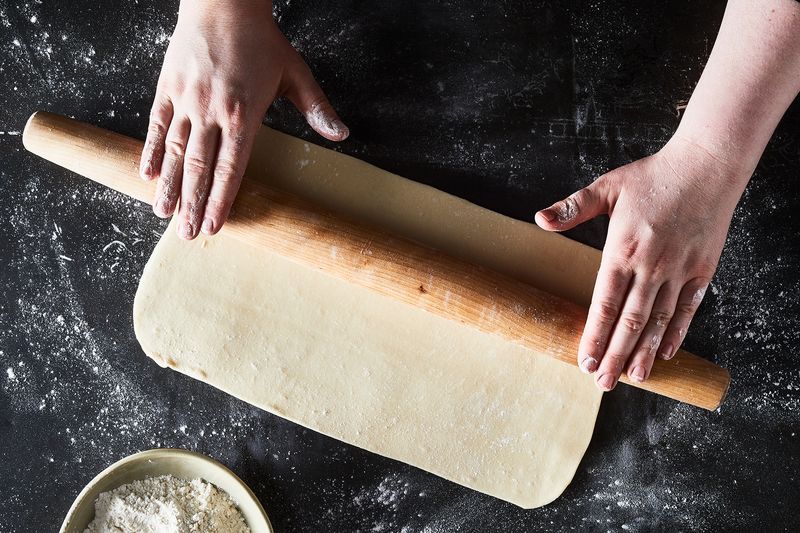
Photo by Julia Gartland
Roll out the dough on a lightly floured surface to about 1/4-inch thick. It’s very important that the dough is not too thick here, or the puff pastry will take too long to cook in the oven, which can mean an overcooked interior.
Once you have your pastry prepared, place the base crust on a parchment-lined baking sheet. It’s easier to assemble the Wellingtons directly on the baking sheet instead of on a work surface and having to move them. Place the prepared filling in the center of the base piece of puff pastry, centering it on the base.
If you’re making a large Wellington, roll out each piece of dough to be slightly larger than the item being wrapped inside.
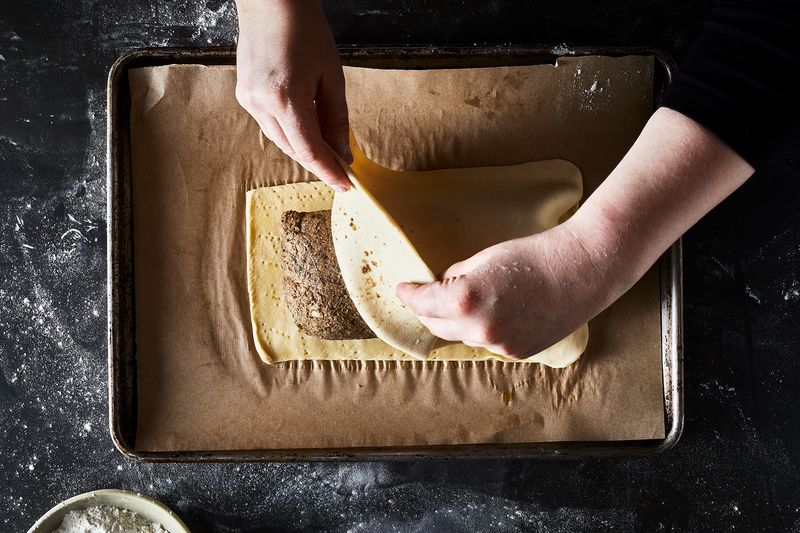
Photo by Julia Gartland
If you’re making individual Wellingtons, divide the dough into even pieces—2 per wellington—and roll them out to be slightly larger than the item being wrapped inside. If the item you’re wrapping is round, like beets, you can roll out one piece of pastry and use it to fully wrap the filling instead.
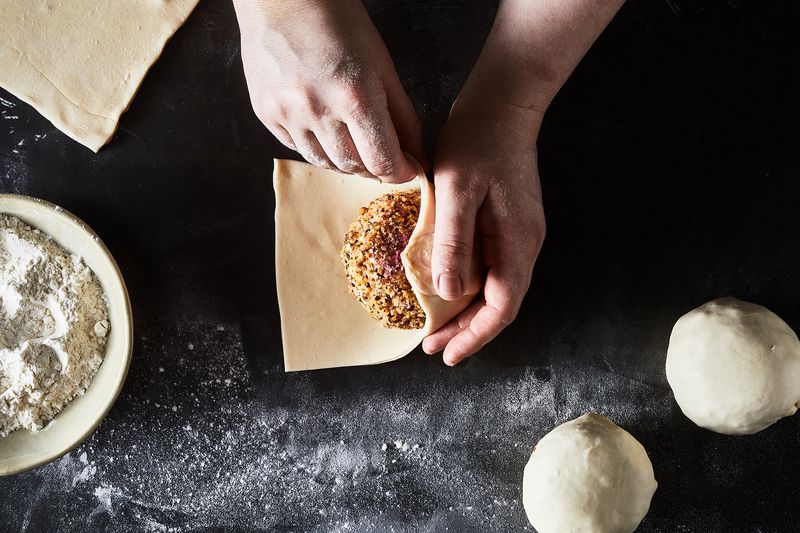
Photo by Julia Gartland
Use egg wash to lightly brush the outer edge of the pastry, then gently drape the top pastry over the filling, pressing to seal at the edges. Use a fork dipped into all-purpose flour to help seal the edges further by pressing the pastry together all around the filling.
Finishing + Scoring
Before baking, Wellingtons should be egg washed to promote even browning. Wellingtons are also often finished with decorative scoring on the surface of the top piece of pasty. This look is achieved by lightly cutting designs into the surface of the dough—the cuts only just pierce the surface of the dough. They don’t cut all the way through. The designs can really be anything: a series of lines or spirals, or whatever you like. If you egg wash the pastry before you score it, the score marks will be more vivid. They’ll be a lighter color than the rest of the golden dough and really stand out. If you egg wash the pastry after you score it, the markings will be more subtle, more like a pattern in the dough rather than a series of scores.
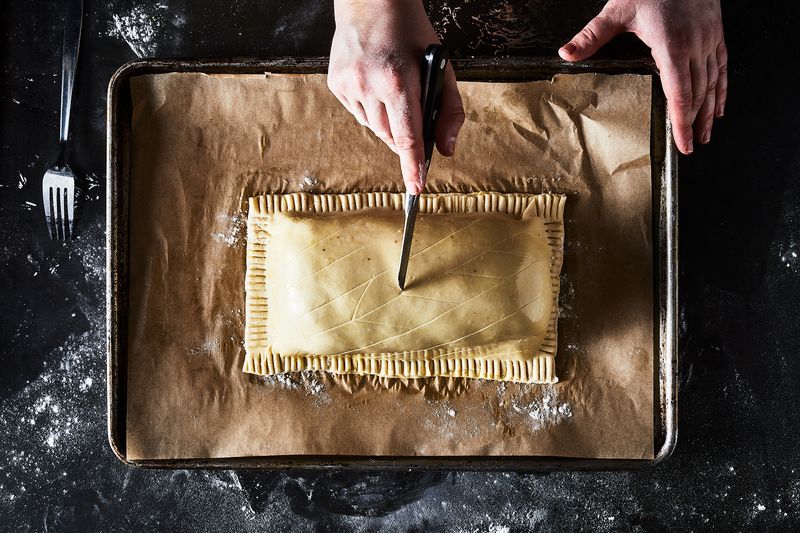
Photo by Julia Gartland
Both look great, so it’s really just about what look you’re going for. Use the tip of a small, sharp paring knife to barely score the surface of the puff pastry without cutting all the way through. Your cuts may be barely visible before baking, but will change dramatically during baking.
Baking
The baking of a Wellington is probably the scariest part. You want both the pastry to be properly baked and the filling to be perfectly done. A high temperature is also important to achieve the ideal browning of the crust in a shorter time, so as to not overcook the interior. I start my Wellingtons at 425° F, lowering to 400° F, if needed, during baking (should the crust brown too fast). This is one time when a thermometer is truly your best friend. Since the Wellington is totally sealed in pastry, monitoring the temperature of the interior is the only real way to know if it’s done or not! When it’s finished, the temperature of a meat wellington should read whatever your desired doneness it (remember to allot for a bit of carryover cooking, too)—about 120-125° F for medium rare. For vegetable fillings, a similar temperature works. You just need to know it’s hot inside, and also that the vegetable is tender, which can be tested with the stem of the thermometer as well (it should easily pierce even the thickest part of the vegetable). The pastry should be very golden brown when finished baking, as well.
Serving
Let any Wellington cool slightly and rest a bit before slicing and serving, 10-15 minutes for a large Wellington, and 5-10 for individual portions. Serve immediately for crunchiest, flakiest, most delicious results.

Duxelles
-
4
shallots, peeled and halved -
3
cloves garlic, smashed and peeled -
1
pound button mushrooms, cleaned -
2
tablespoons unsalted butter -
salt and freshly ground black pepper -
2
tablespoons fresh chopped parsley -
1
tablespoon fresh chopped thyme -
2
teaspoons fresh chopped rosemary
Beef + Wellington
-
2
pounds beef tenderloin, cleanred -
salt and freshly ground black pepper -
2
tablespoons extra virgin olive oil -
2
tablespoons Dijon mustard -
15
slices pancetta -
14
ounces prepared puff pastry (thawed, if frozen), divided into two even pieces -
egg wash, as needed

Beets
-
4
large beets, peeled -
2
tablespoons unsaltdd butter, melted -
kosher salt and freshly ground black pepper
Coating + Wellington
-
12
ounces goat cheese -
6
ounces gorgonzola dulce -
1
bunch chives, minced -
8
ounces smoked almonds, very finely chopped -
14
ounces prepared puff pastry, (thawed if previously frozen) -
egg wash, as needed


Kale-Leek Filling
-
2
tablespoons unsalted butter -
3
leeks, halved lengthwise and thinly sliced -
3
cloves garlic, minced -
1
large bunch (or 2 smaller bunches) lacinato kale, shredded -
salt and freshly ground black pepper -
1
tablespoon fresh chopped sage
Squash + Wellingtons
-
1/2
large butternut squash, peeled and seeds removed -
2
tablespoons extra virgin olive oil -
salt and freshly ground black pepper -
2
tablespoons Dijon mustard -
14
ounces prepared puff pastry, (thawed if previously frozen) divided into two even pieces -
egg wash, as needed
What are you keen to Wellington? Let us know in the comments!
(via Food52)